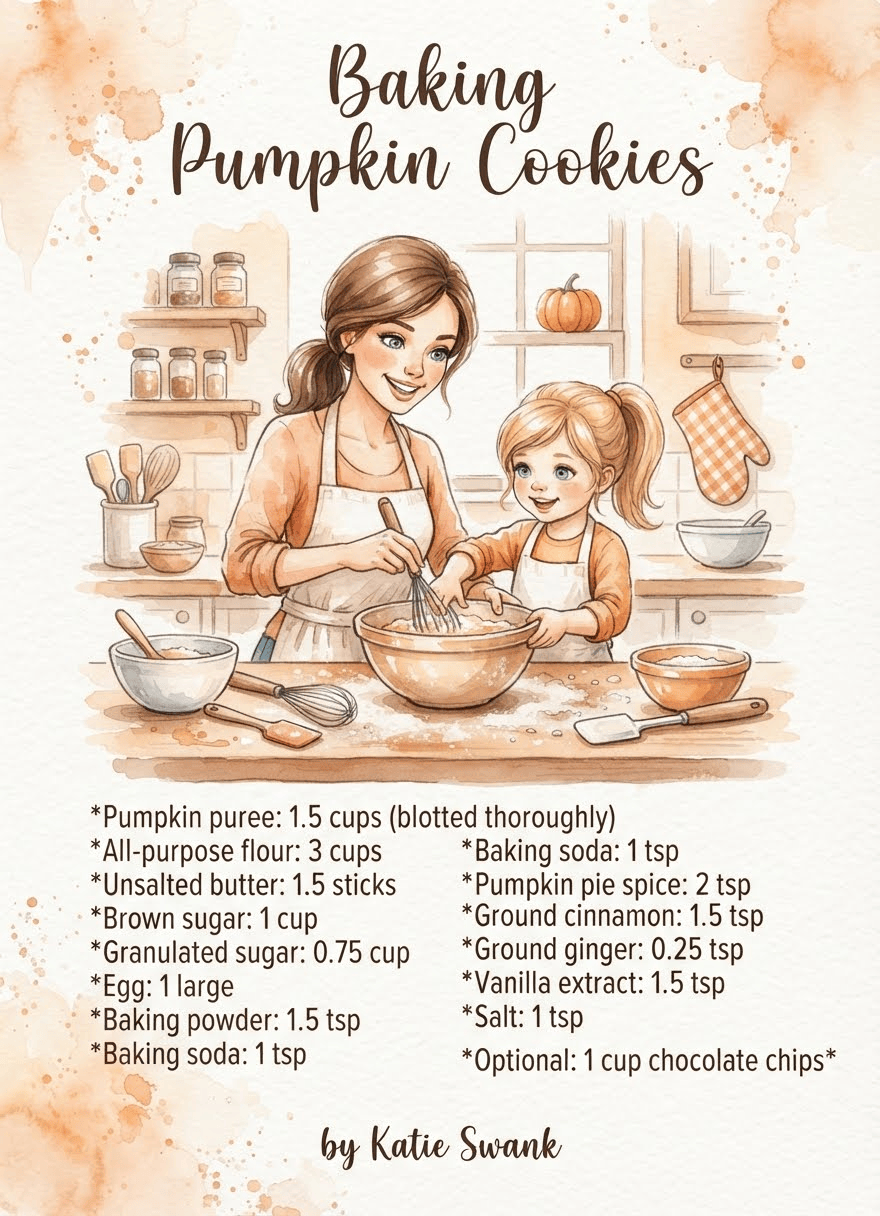



To maximize the flavor and texture of these pumpkin cookies, the mixing order should focus on two main techniques: maximizing fat-soluble spice extraction and preventing gluten development.
By creaming the spices directly into the butter and sugar, you dissolve the flavor compounds of the cinnamon, ginger, and pumpkin pie spice into the fat, making the spice flavor bloom beautifully throughout the entire cookie.
Flavor-Maximized Mixing Order
Step 1: The Flavor Bloomer (Fat + Sugars + Spices)
Creaming the spices directly with the fat and sugar allows the essential oils in the spices to dissolve into the butter, amplifying their flavor.
- Unsalted butter: 1.5 sticks (softened)
- Brown sugar: 1 cup (packed)
- Granulated sugar: 0.75 cup
- Pumpkin pie spice: 2 teaspoons
- Ground cinnamon: 1.5 teaspoons
- Ground ginger: 0.25 teaspoon
- Salt: 1 teaspoon
- Method: Beat these together for 2–3 minutes until the mixture is light, fluffy, and fragrant. The salt and spices will be evenly distributed and fully activated.
Step 2: The Emulsifiers (Wet Ingredients)
Incorporate the remaining wet ingredients one by one to build a stable emulsion that holds moisture without separating.
- Egg: 1 large (room temperature)
- Vanilla extract: 1.5 teaspoons
- Pumpkin puree: 1.5 cups (thoroughly blotted)
- Method: Add the egg and vanilla first, beating until fully incorporated. Then, fold or mix in the blotted pumpkin puree just until combined.
Step 3: The Structure & Leaveners (Dry Ingredients)
Keep the dry ingredients separate until the very end to prevent the flour from overworking, which makes cookies tough.
- All-purpose flour: 3 cups
- Baking powder: 1.5 teaspoons
- Baking soda: 1 teaspoon
- Method: Whisk these three ingredients together in a separate bowl first. Add them to your wet mixture all at once. Mix on the lowest speed just until the flour disappears. Overmixing at this stage creates gluten, which turns a soft cookie into a rubbery one.
Step 4: The Mix-Ins (Optional)
- Optional add-ins: 1 cup chocolate chips or chopped nuts
- Method: Gently fold these in by hand with a spatula in 3 or 4 quick strokes right at the end.
Step 1: Chill the Dough (Non-Negotiable for Flavor)
- Cover and chill the dough for at least 30 to 60 minutes in the refrigerator before baking.
- Why it works: Chilling allows the flour to fully hydrate and absorb the liquids. More importantly, it gives the fat-bloomed spices time to meld and deepen in flavor, ensuring every bite is rich and intensely aromatic rather than floury. It also firms up the butter so the cookies don’t puddle into flat discs in the oven.
Step 2: Prep and Portion
- Preheat your oven to 350°F (177°C) and position your oven racks in the upper and lower thirds. Line your baking sheets with parchment paper.
- Scoop large, uniform mounds using a 2-tablespoon cookie scoop. Because pumpkin dough has a higher moisture content, these cookies will not spread much on their own.
- Slightly flatten the tops of the dough mounds with the palm of your hand or the back of a spoon to help them bake evenly into beautiful, thick discs. Leave about 2 inches of space between each cookie.
Step 3: The Perfect Bake & Pull Time
- Bake for 11 to 13 minutes. If you are baking two sheets at once, rotate them from top-to-bottom and front-to-back halfway through the baking time.
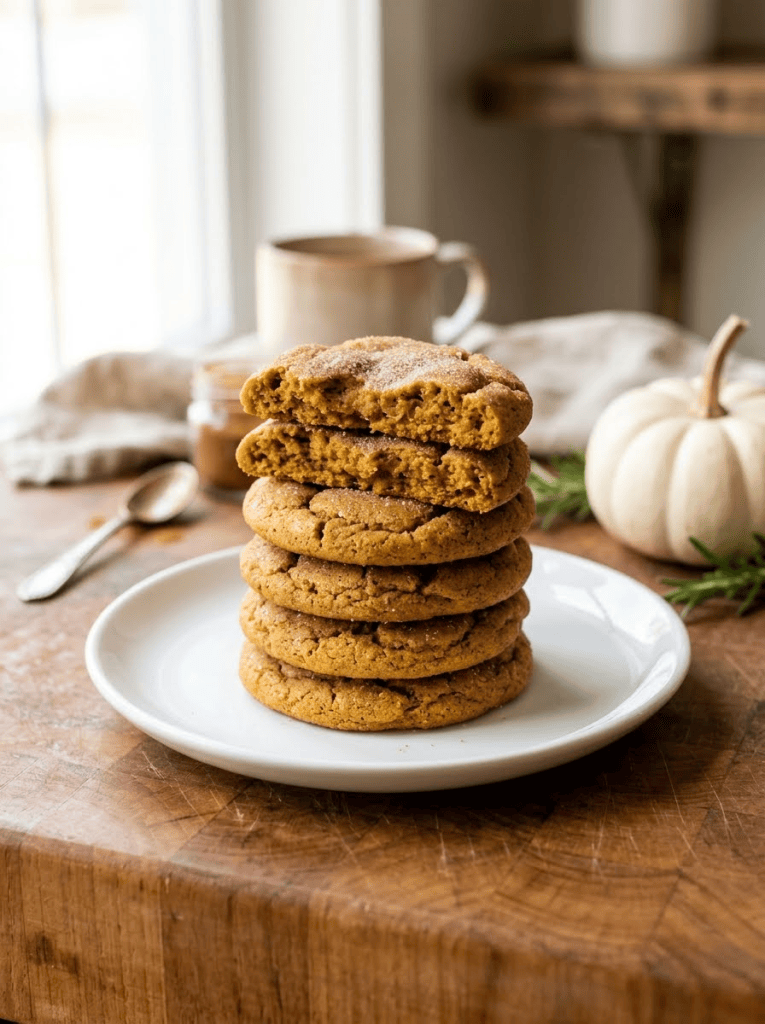
- How to tell they are perfectly done: Look closely at the edges and the center. The edges should look dry, matte, and firmly set. The very center of the cookie should look slightly soft and pale, but not wet or glossy. If you gently touch the edge of a cookie, it should give a tiny bit of resistance.
- The Golden Rule: Do not wait for the centers to firm up in the oven. If the center feels firm while still on the oven rack, the cookie is already overbaked and will turn out dry or cakey.
Step 4: The Carryover Bake
- Remove the pans from the oven and let the cookies sit undisturbed on the hot baking sheets for exactly 5 minutes.
- Why it works: The trapped residual heat from the pan will finish cooking that soft, pale center perfectly without drying out the edges.
- Transfer to a wire cooling rack after 5 minutes to let them cool completely.


You must be logged in to post a comment.